Cold Cases: Daily Life in Antarctica

Lesson Plan
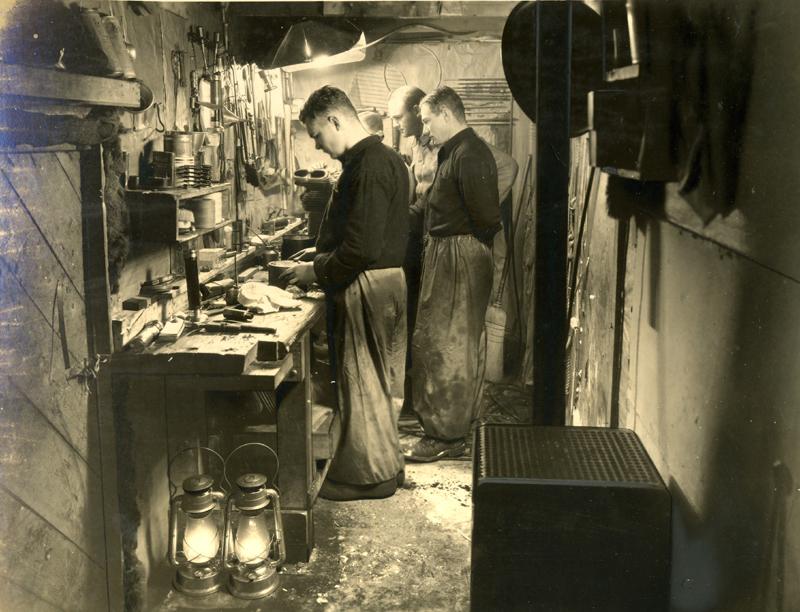
Richard E. Byrd led his second expedition to Antarctica in 1933, with the primary goal of advancing scientific research. Though this expedition was organized and carried out during the Great Depression, it was even larger than his first trip in 1928. The Richard E. Byrd Papers are rich with evidence about this expedition, including thousands of photographs that document the day to day experiences of those who participated. Using those photographs, students will describe—visually and textually—daily life in Antarctica.
Instructional Unit:
Social Studies Skills and Methods
Grade Level:
9th & 10th
Standards:
9.A.3a,c; 9.B.4a-c; 10.A.1e; 10.A.2
Description:
Given primary source photographs the students will organize and describe--visually and textually--daily life in Antarctica.
Duration:
Three Days (3x45min)
Materials and Resources:
- Photograph Analysis Worksheet
- Pencils
- Post-it notes
- Tri-fold Poster Board
- Tape
- Construction Paper
- Markers / Crayons
- Safety Scissors
Warm up activity:
- Teacher selects photograph to demonstrate the use of the Photo Analysis Worksheet.
- Have students fill out practice worksheet as a working example.
Instructional steps:
Before implementation of lesson, group folders containing primary source photographs, and photo analysis worksheets need to be prepared for students. (Number of photographs: each group could have all photos, but probably too many. If three groups, could each have ten different photos. If more groups can have somewhat fewer photos, or mix of some photos in only one group and some in all groups. Try to have at least 6 photos per group.)
DAY ONE
1. Identify the goal of the project.
- “How can images be used to tell the story of the past? The goal of this unit will be to teach students visual literacy – how to look closely at images and see what is there. Traditional primary source analysis questions will be applied to these sources: What was Byrd’s purpose in documenting the expedition so extensively through photographic imagery? What story was Byrd trying to tell?”
2. Break students into groups.
3. Distribute primary source folders (containing photographs & worksheets)
4. Have students analyze the photos utilizing the worksheets.
5. Summary for day one activity, challenge students with possible questions:
- What strange things did you see?
- Did you see any product brand names
- How did they relax or play?
- What did you not see?
DAY TWO
- Have groups reassemble.
- Quickly review goals and any past day questions.
- Issue construction materials.
- Students will choose some of the photos given their group to put on poster board (for example, choose three photographs in their group—students should use some but not all the photos--must make a selection.
- Students will choose photos that together say something about daily life during the expedition in Antarctica. They are to choose photos for which they see a relationship. This could based on some similarity, on differences, comparison and contrast, etc.
- Students will write a thesis statement that describes the relationship they see. The thesis justifies their selection.
- Students will use post-it notes to identify photograph highlights—draw attention to the specific details that they saw that relate the pictures to each other
- Students will write a few paragraphs that tell the story or relationship that the selected pictures illustrate to place on the poster board.
- Students may add any additional art work in relation to their theme.
DAY THREE
- Have each group display finished project.
- Pose the greater question -- “What was Byrd’s purpose in documenting the expedition so extensively through photographic imagery? What story was Byrd trying to tell?”
- Either in group discussion or written project, have students analyze the question based upon their prior knowledge of the previous two days.
